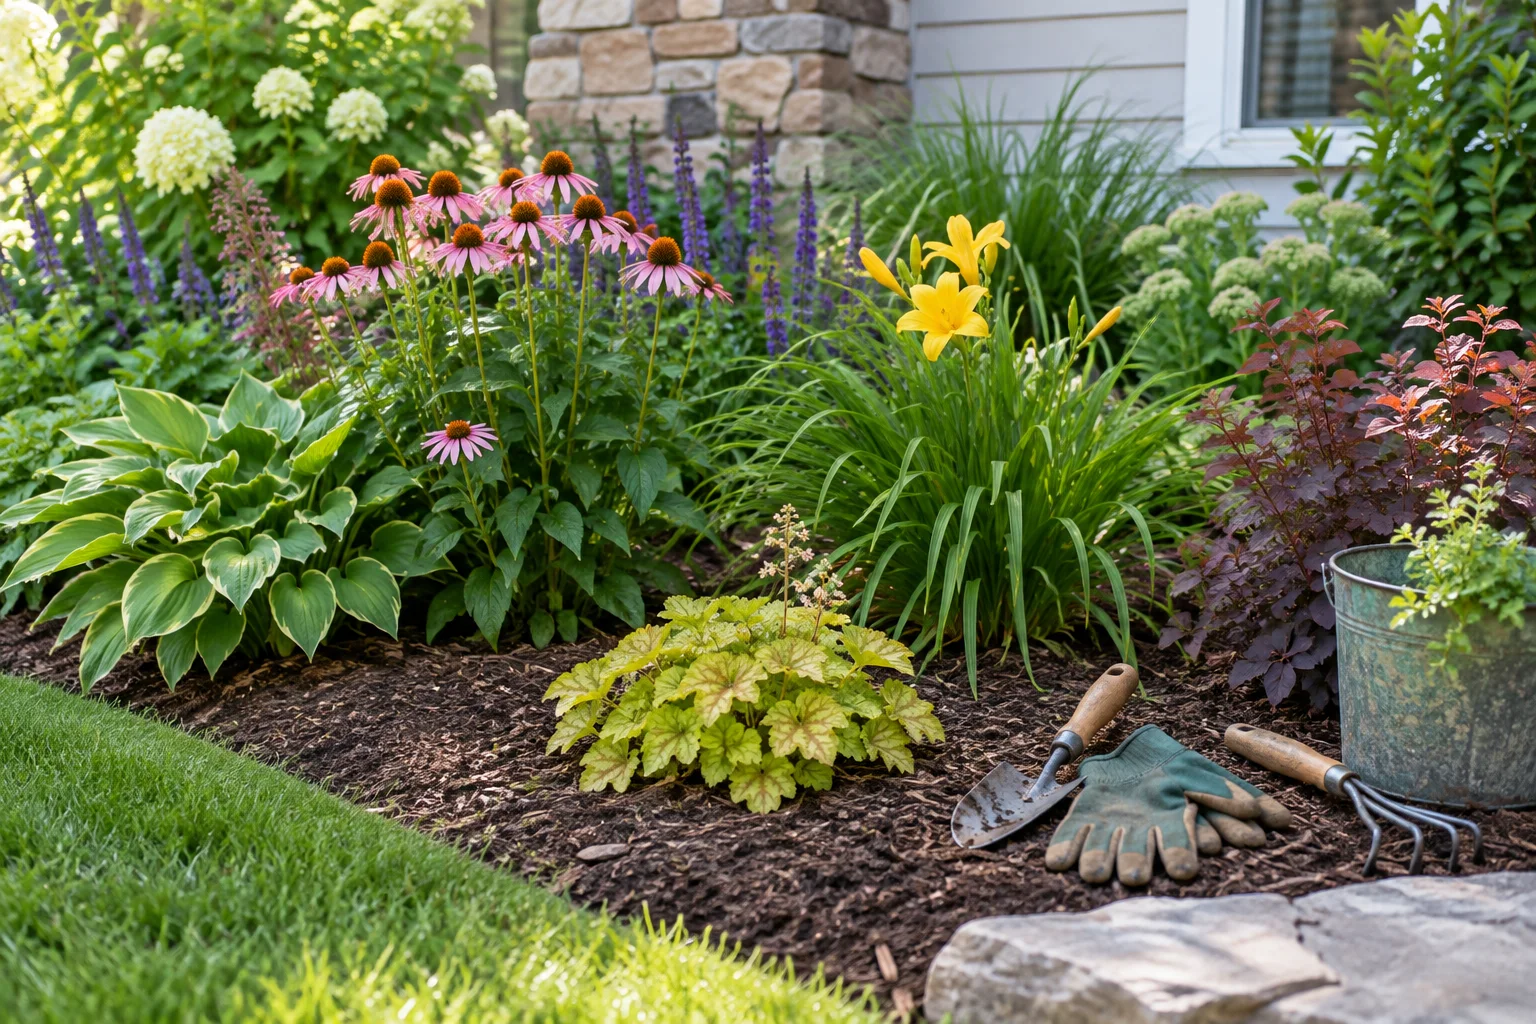
A new garden bed is easier to enjoy when its size, location and planting choices fit the way you use your yard. Starting with a cart full of attractive plants can leave the important questions unanswered: where will you stand to weed, how will you water, and what happens when those small plants reach their mature size?
You do not need a professional drawing to make a useful beginning. A simple sketch, a few observations and a realistic first phase can turn an uncertain patch of ground into a manageable project. This guide focuses on planning an ornamental garden bed, with enough structure to help you explain the work if someone else will prepare or plant it.
Decide what the bed should do
Choose a main purpose before thinking about individual flowers. You may want to soften a fence, make the front entrance welcoming, replace an awkward strip of lawn or create something interesting to see from the kitchen. A clear purpose helps you choose between competing ideas when the available space or budget is limited.
Consider the view from indoors as well as from the garden. A bed beside a favourite window may be worth more attention than one hidden behind storage. Conversely, a planting along a frequently used path must leave room for people carrying groceries, moving bins or walking beside a child. Attractive foliage should not depend on squeezing through it.
Write one sentence describing success. For example: “I want a modest bed beside the patio that looks cared for through the growing season and can be maintained from the path.” That sentence will guide the shape, plant selection and maintenance arrangements more effectively than an unstructured collection of inspiration photographs.
Observe the location before changing it
Visit the proposed area at different times of day. Record where sunlight falls, where shade arrives and which surrounding features create it. A single photograph taken at noon cannot describe the whole growing environment. Trees also change the pattern between leafless spring conditions and a full summer canopy.
Look after rain if it is practical to do so. Note places where water sits, where runoff crosses the area and where the ground dries differently from its surroundings. These observations are not a drainage diagnosis, but they help you avoid treating the entire yard as one uniform planting site.
University of Minnesota Extension advises matching plants to site conditions including soil, light and climate. Use that principle as a filter, rather than searching for a plant that must tolerate every mismatch. A plant label provides a starting point, while local horticultural advice can help interpret conditions that are more complicated than “sun” or “shade.”
Draw the existing space first
On paper, mark the house, paths, fences, trees, taps and other fixed features. Approximate dimensions are enough for an initial conversation, provided you label them as approximate. Add doors, gates and anything that needs service access. Include the space occupied when a gate or shed door is fully open.
Then draw the routes people already take. A worn shortcut across the lawn often reveals a real need that a decorative bed will not remove. Decide whether to accommodate that route or provide an equally convenient alternative. Otherwise, a carefully planted corner may become an obstacle that everyone walks through anyway.
Mark existing plants you want to keep. Do not assume that empty-looking ground is genuinely empty, especially in a garden you have recently inherited. Bulbs and late-emerging perennials may not be visible at your first inspection. Old photographs or a season of observation can prevent unnecessary disturbance.
Test the outline at full size
A line on paper can look generous while creating an awkward shape outdoors. Use a temporary visual outline to see how the bed relates to the lawn and walkway. Stand at the entrance, sit on the patio and look from the relevant window. Adjust the outline while changes are still easy.
Think about maintenance movements. Can a mower pass around the edge without repeated sharp turns? Can you reach the middle of the bed without stepping between plants? If you will use a wheelbarrow, does the route provide enough room to pass comfortably? These questions turn an attractive sketch into a workable garden.
Avoid making the first bed larger simply because material is being delivered. A smaller area completed thoughtfully can provide useful experience for a later extension. You can learn how much care you enjoy, which conditions you misunderstood and which plants earn their space before committing to the entire yard.
Understand the ground you are starting with
A bed made in existing lawn has a different preparation task from one filled with old shrubs, rubble or persistent weeds. Describe what is present, including visible roots and previous edging. Ask how unwanted vegetation will be addressed and what preparation is included before new plants arrive.
Soil testing can answer particular questions, but it should be chosen for a purpose. Ask what information is needed and how the result will influence the plan. Buying amendments before understanding the existing soil can turn a simple project into unnecessary hauling and expense. More material is not automatically a better planting environment.
If the area contains construction debris, unknown fill or a history that raises contamination concerns, discuss suitable assessment before gardening there. This is particularly important if your plans might later include food crops. An ornamental layout should not be used to make unsupported assumptions about soil safety.
Keep water movement and structures in view
A planting bed should not become an improvised solution to water collecting near a building. Adding soil or changing levels can affect how water moves. If the project involves significant grade changes, a retaining structure or a persistent drainage problem, get the appropriate assessment before treating it as ordinary planting work.
Keep access to utility equipment, vents and service points clear according to the relevant requirements. Locate buried services before excavation through the appropriate process for your property. Do not assume shallow digging is harmless or that a neighbour’s memory is a reliable record of what lies below the surface.
These checks are easiest while the plan is still flexible. Moving a proposed bed slightly may preserve convenient access and avoid a much more complicated project. Put fixed constraints on the sketch so that every person involved uses the same starting information when discussing plants, preparation and installation.
Build a plant shortlist around conditions
Choose candidates by mature size, light needs, soil conditions and suitability for your climate before choosing colour. A beautiful plant that needs a different environment adds work and uncertainty. Ask a knowledgeable local nursery or horticultural adviser to help narrow the shortlist when the site has challenging conditions.
For each candidate, write down its expected mature height and spread. Those dimensions describe the future bed more usefully than the size of a nursery pot. Consider whether the plant will lean into a path, block a view or crowd a neighbour when established. Leave room for growth rather than planning only for installation day.
You can then compare visual qualities: foliage, flowers, texture, shape and seasonal interest. A bed does not have to flower continuously to be attractive. Repeating a few compatible plants can create a calmer result and make care easier to learn than collecting one of every appealing variety.
Decide what maintenance you actually want
Some people enjoy dividing plants, staking stems and deadheading flowers. Others want occasional checks and a small number of predictable seasonal tasks. Neither preference is wrong, but they lead to different choices. Tell a designer or installer what you are willing to do rather than asking vaguely for something easy.
Think about your least convenient month. If you travel during summer, a bed requiring close attention at that time may be a poor fit. If kneeling is uncomfortable, plan reachable edges, suitable tools and assistance from the beginning. Maintenance should be considered as part of design, not as a problem discovered after planting.
List tasks in plain language: watering new plants, watching for weeds, checking ties or supports, tidying selected growth and replacing failures. Ask which tasks apply to the proposed plants and how care changes after establishment. Avoid interpreting “low maintenance” as a promise that nothing will need attention.
Make watering practical before installation
Trace the route from the water source to the furthest part of the bed. Will a hose cross steps, a busy path or a driveway? Can it be stored conveniently afterwards? A planting plan that depends on awkward daily setup is more likely to be neglected when life becomes busy.
Ask for an establishment watering plan based on the plants and actual conditions. A rigid instruction to water every day is not a substitute for checking moisture and understanding the site. Clarify who will demonstrate the checks, who will provide care while you are away and when you should ask for advice.
If irrigation is proposed, separate its design, installation and ongoing operation from the planting quote. Ask how different plant needs will be accommodated and what seasonal maintenance the system requires. Do not assume that installing equipment removes the need to observe whether plants are receiving appropriate water.
Plan the edge and surface treatment
The boundary between lawn and bed deserves deliberate attention. Choose an edge that suits the style, mowing arrangements and ability to maintain it. A complicated series of small curves can create more trimming work than a simpler outline. A material that looks neat on delivery day may be harder to adjust as the garden changes.
Discuss mulch as part of the planting system rather than as a decorative afterthought. Ask which material fits the plants, how existing surface material will be handled and how the finished application will be checked. Keep a distinction between mulch placed on the surface and soil or amendments used during preparation.
If stone or fabric is proposed, ask how future planting, weeding and repairs will work. Imagine replacing one plant in three years. The answer may reveal practical trade-offs that are invisible in a fresh installation photograph. Choose based on the whole maintenance process, not simply the first season’s appearance.
Turn the idea into an installation brief
A clear brief can be a page of notes with a labelled sketch. Identify the final outline, plants to retain, preparation method to be discussed, preferred plant palette and how unfinished decisions will be approved. If substitutions are allowed, state that they need to meet the same site and size requirements.
Request separate clarity on these components:
- Removing existing vegetation, roots or unwanted edging.
- Supplying and placing soil, amendments or surface materials.
- Supplying plants with identifiable names and agreed quantities.
- Planting, initial watering and explaining ongoing care.
- Removing packaging, excess material and project debris.
You can compare proposals more fairly when they describe the same work. A lower total may simply omit disposal, smaller plant sizes or the time required to prepare an established bed. Ask questions about differences before deciding that one provider is more expensive for an identical result.
Use a first phase to learn
Suppose you want a long border around three sides of the yard. Begin with the section most visible from your main living space. Complete its preparation, planting and care plan, then observe it through a growing season. The experience will show whether the scale and maintenance match your expectations.
Keep a simple record of plant names, locations and what you notice. A photograph from the same position every few weeks can show changes more clearly than memory. Note successes as well as problems. A plant that stays attractive with little attention is valuable evidence for the next phase.
Do not judge the whole project by the first week. New planting can look open because it has been given room to grow. Discuss temporary gaps before installation so they feel intentional. Adding extra plants to fill every space immediately can create crowding and additional work later.
Before the next phase, compare the hours you expected to spend with the routine you actually followed. If a task repeatedly went unfinished, change the design or support arrangement instead of assuming more enthusiasm will solve it. A garden should fit ordinary weeks as well as the weekends when you have plenty of energy.
Review the finished bed and its next steps
Before the installer leaves, check the outline against the agreed plan and walk the surrounding routes. Confirm plant names and any substitutions. Ask where the planting record and care instructions will be kept. Make sure the person who will maintain the bed understands the plan, even if someone else commissioned the work.
Agree on how questions about settling, plant performance or missed items should be raised. Photographs and specific observations are more useful than a general statement that something looks wrong. Keep expectations grounded in the site, weather and the care you have agreed to provide.
For help organising the rest of the property, read the lawn and garden planning guide. Cody Mobile’s planned lawn and garden care division is currently a waitlist while local partners are recruited. Use the planning stage to gather your observations and build a brief that will remain useful whichever provider you choose.