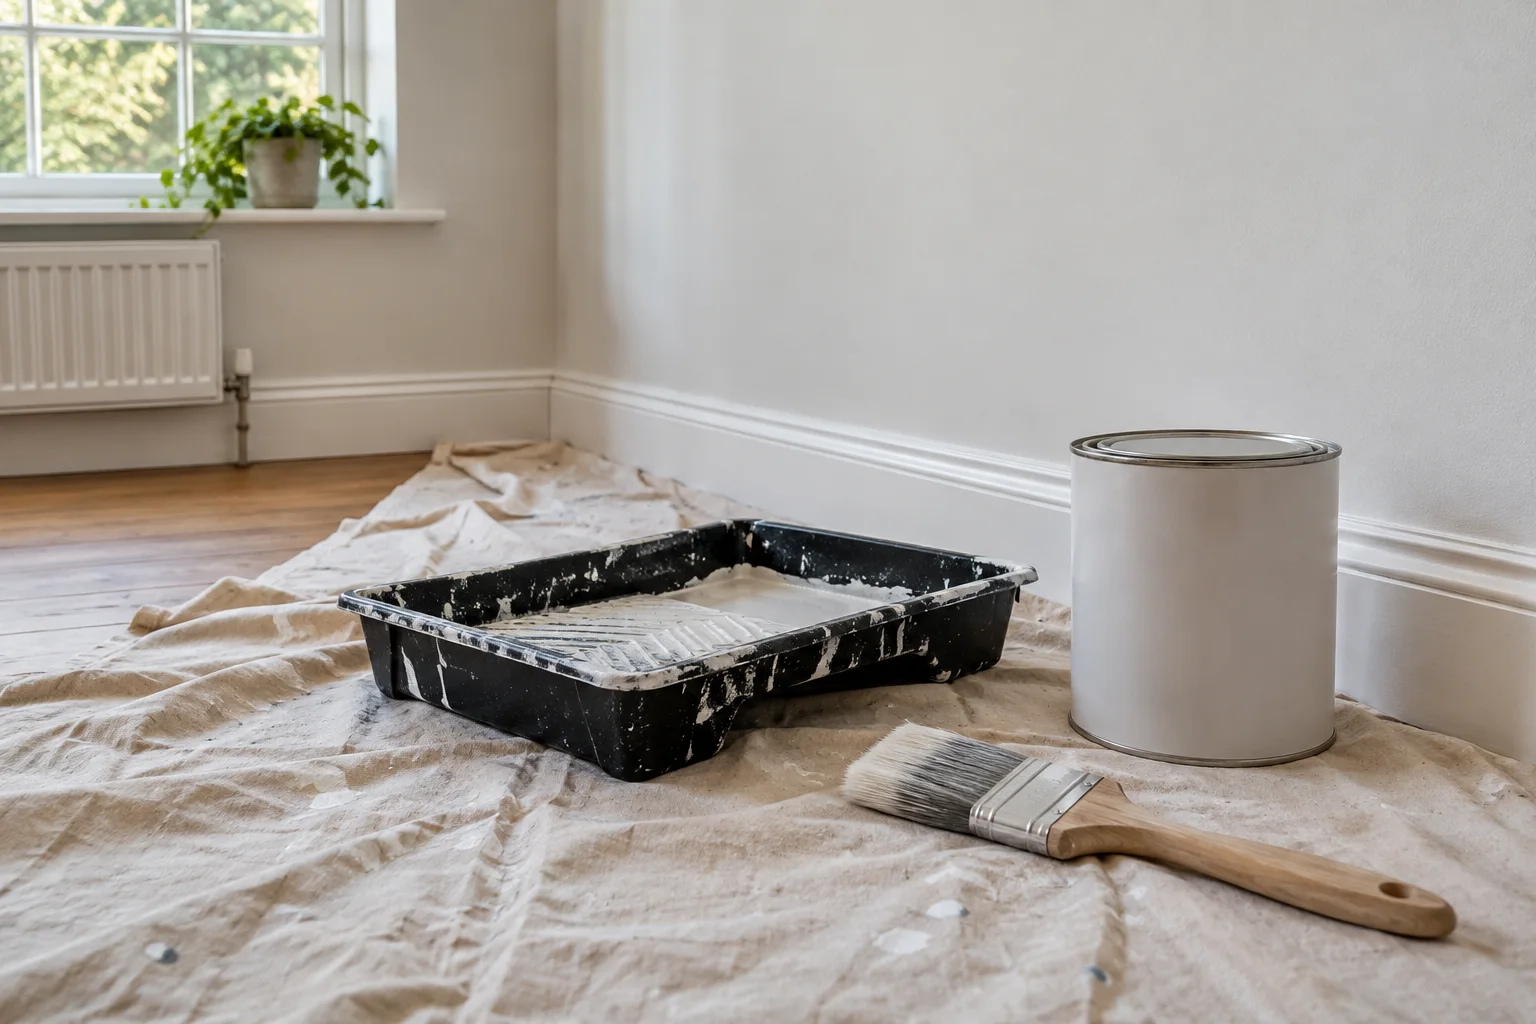
A small painting project is often small only in area. A single door, one accent wall or a short run of trim can still require cleaning, repairs, protection, primer, drying time and careful access. The visible colour is the last part of a sequence. Understanding that sequence helps you request a useful quote and avoid scheduling a finished room before the surface is ready for normal use.
Begin with the outcome you want. Are you covering wear, changing the colour, repairing a patch or refreshing a feature that attracts attention? The answer shapes the preparation and the finish boundary. A good plan is specific about the surface and realistic about the condition beneath the existing coating.
Define the painted area precisely
Name the exact surfaces. One bedroom wall does not automatically include the skirting board, ceiling edge, door frame or radiator. A door may mean one face, both faces, the edges or the surrounding frame. List those choices so the provider does not have to infer your intended result from the room name.
Photograph the whole area and any close details that concern you. Include peeling, dents, stains and previous patches. A wide photograph helps explain access and natural stopping points, while a close view shows the surface condition. Add approximate dimensions where easy to obtain, leaving final measurement to the provider.
Discuss what should remain as it is. A crisp colour change beside existing trim requires a different scope from repainting the trim at the same time. If the adjoining paint is worn, explain whether that contrast will bother you. Deciding the boundary early avoids an expanding project once the new finish makes nearby wear more visible.
For several small areas, make a labelled list. Group surfaces by room and material rather than saying there are a few touch-ups around the house. A painted metal item, a wooden door and a drywall patch may need different preparation and products even when all three are intended to be white.
Explain the problem beneath the colour choice
Tell the provider why the surface needs attention. Ordinary scuffs are different from recurring peeling, a water stain or a patch that remains visible through paint. Include the history of any leak or previous repair. Painting should follow an understanding of the condition, not become a way to hide an unresolved problem.
If moisture is active or the cause of a stain is unknown, ask for appropriate assessment before finishing. A new coating cannot establish that the source has been corrected. The painting scope may need to wait for plumbing, exterior or other specialist work, depending on what the assessment finds.
Describe the existing coating if known, using records rather than guesses. An old paint label or renovation invoice can be helpful. If you do not know what was used, say so. The provider may need to assess compatibility and preparation rather than assume a new product can go directly over the old surface.
Be clear about damage you want repaired. Filling a few small marks, correcting a rough old patch and restoring a damaged corner are different tasks. A quote for painting does not necessarily include every repair required for a smoother result. Agree on those repairs before comparing totals.
Address older materials before sanding begins
The age and renovation history of the home matter when old coatings or materials will be disturbed. Health Canada's lead paint guidance notes that older homes may contain lead based paint. Its asbestos guidance advises avoiding disturbance of suspect materials and obtaining professional assessment or testing where appropriate before renovation.
Share existing reports and tell the provider what is known about the area. Do not assume a newer topcoat settles the question of underlying layers. The proposed preparation method should be considered alongside the material history. A small painted area can still involve disturbance that warrants care.
Avoid scraping or sanding in advance to help the appointment along when materials are uncertain. That preparation may be exactly the part that needs assessment. Ask what you should do before arrival and what should remain untouched until the provider has evaluated it.
If specialist handling is needed, separate it from the cosmetic painting scope. A general handyman or painter should explain the limits of their work and recommend appropriate help. The practical goal is a sound, suitable surface for finishing, with the relevant material questions resolved before routine preparation proceeds.
Understand what preparation is buying
Preparation can include cleaning, addressing soundness, repairing agreed defects and creating the surface required by the chosen coating. Ask the provider to describe the stages that apply to your project. You do not need a technical recipe, but you should know why the work involves more than opening a tin.
Trim and doors often have accumulated wear in edges, corners and frequently handled areas. A fresh coat may change the colour while leaving existing texture visible unless more preparation is included. Discuss whether you want a general refresh or a more refined surface, and ask what is realistic for the material's condition.
A wall repair can require attention beyond the small damaged centre. The surrounding surface and the paint boundary affect how the finished area reads. Ask whether the provider recommends a spot touch-up, a broader blend or painting to a natural corner. Each represents a different finish expectation and scope.
Protection is also part of preparation. Floors, furniture, hardware and adjacent finishes need a plan. Ask what the provider protects and what you should move beforehand. This makes the appointment practical and avoids treating an occupied room as if it were an empty renovation space.
Choose colour in the room where it will live
A colour sample is more informative when viewed in the actual room at different times of day. Place an appropriate sample where you can compare it with flooring, furniture and nearby finishes without damaging the surface. Morning daylight and evening lamps can create different impressions.
For a small project, consider the relationship to existing white trim or adjacent walls. Two near matches may look less intentional than a clear contrast. If you want a match, provide the original paint details where available and ask what level of consistency can reasonably be expected on the existing surface.
Make the colour decision before the work begins. Last minute uncertainty can delay product purchase and turn the appointment into a rushed design consultation. If you want the provider's help choosing, identify that as part of the service rather than assuming it happens automatically during preparation.
Keep a written record of the final selection. Include brand, product line, colour and sheen, not just a photograph of a swatch. A photograph can change colour through lighting and screen settings. The product details are what will help with future maintenance or a later room extension.
Treat sheen and product type as functional choices
Sheen affects the way a surface reflects light and how it appears beside existing paint. Ask the provider how the proposed finish suits the room, surface and desired appearance. A higher sheen can make some irregularities more noticeable, so the preparation standard and finish selection should be discussed together.
The right product also depends on the substrate and use. A wall, cabinet front and frequently handled door are not automatically interchangeable applications. Ask for the manufacturer's intended use and care guidance for the exact coating proposed. Do not choose solely by colour availability or a broad durability claim.
If you supply paint, have the provider approve it before the appointment. An old leftover tin may be unsuitable in condition, quantity or application. The label is valuable information, but it does not guarantee the contents are ready to use. Discuss who handles a replacement if the supplied material cannot be used.
Specialty surfaces may need a specialist or a different project scope. A glossy manufactured finish, unusual panel or previously coated item can require particular assessment. Be candid about the surface and avoid describing it as ordinary trim just because its size is small.
Plan for drying, curing and room access
Ask for the likely sequence and the manufacturer's requirements between stages. Benjamin Moore’s drying guidance distinguishes drying from curing and notes that conditions affect the timing. The room may look finished before it is ready for ordinary contact or cleaning. Keep the provider's return-to-use guidance with the product information.
Explain your deadline before agreeing to the work. A guest arrival, move or photography appointment can affect the schedule, but it cannot change product requirements. Allow time for preparation, coats and the period before furniture or objects return against the surface. A rushed finish can create inconvenience after the provider leaves.
Doors require particular planning because they are working objects. Ask how access, privacy and security will be maintained while they are being finished. Do not assume every door can be removed or left open without consequence. The provider should understand how the household needs the room to function.
Discuss ventilation and room use according to the product labels and the work plan. Health Canada's renovation product guidance emphasizes reading labels and following safe use instructions. Tell the provider about practical household constraints so the schedule can accommodate them rather than relying on an improvised arrangement on the day.
Compare quotes on preparation and endpoint
A useful quote identifies the surfaces, agreed repairs, preparation, product supply, finish and cleanup. Ask whether primer is included where required by the proposed system and how the provider will handle conditions discovered during preparation. A total without those details is difficult to compare fairly.
Do not judge scope only by the number of coats. The existing surface, colour change and selected product influence the work. Ask what result the provider is proposing and what assumptions support the quote. If an additional stage becomes necessary, agree how it will be explained and authorized.
Include these details in your request:
- The precise surfaces, dimensions and photographs of existing condition.
- Known coating information and relevant material assessment records.
- Agreed repairs and the desired finish boundary.
- Final colour, sheen and product responsibility.
- Access, furniture moving and household deadlines.
- Cleanup, leftover paint and return-to-use instructions.
Where the provider offers different levels of preparation, ask them to explain the visible difference you can expect. A modest refresh may be entirely suitable for a utility space. A prominent door or wall in strong light may justify more work. Choose based on the result you value rather than assuming the most expensive option is always necessary.
Coordinate painting with nearby projects
Painting often sits between other tasks. Wall repair should be ready before finish paint; new shelving may need the wall finished before installation; hardware changes can reveal marks that affect the painting scope. Write down the order so each provider knows what must happen first.
If curtains, pictures or furniture must be removed, decide who handles them and when they return. Reinstalling them too soon can interfere with the finish or require work against a surface that is not ready. Follow the relevant product and provider guidance rather than a convenient calendar assumption.
An accent wall behind a large wardrobe may require moving the wardrobe well before the painting appointment. Discuss that access honestly. A small visible area can still be difficult to reach, and the time needed to create working space is not automatically included in the painting quote.
Keep electrical and other regulated work separate. If changing a fixture or moving a receptacle is part of the room refresh, arrange the appropriate trade and sequence before finishing. Painting should not become an invitation for a general provider to undertake unrelated work outside their scope.
Prepare the household and inspect with context
Move small valuables, loose textiles and fragile objects from the area. Ask about large furniture rather than assuming it can simply be pushed aside. Provide a clear route and a suitable working zone. Keep pets and children away from active preparation, products and fresh surfaces.
At handover, review the completed work in normal lighting and from ordinary viewing positions. Compare the result with the agreed preparation and painting boundary. Identify concerns specifically, such as a missed edge, visible mark or unexpected colour difference. Clear observations make the discussion more useful than a general sense that the room feels unfinished.
Ask when normal cleaning can resume and what products or methods the coating manufacturer recommends. Do not immediately scrub a fresh surface to test durability. Keep labelled leftover paint where appropriate, following its storage instructions, and record the date and surfaces painted.
If a stain, blister or other problem returns, seek assessment rather than repeatedly covering it. The maintenance record can help identify whether the issue relates to the coating, surface or an unresolved condition. A small project should leave you with a clearer understanding of the wall, not just a different colour.
The handyman visit guide helps organize painting among other repairs, and the furniture assembly guide is useful when new pieces must wait until the room is ready. Cody's handyman offering currently remains a waitlist while a partner is recruited. A clear surface list, settled colour choice and realistic schedule are useful preparation for any conversation with an appropriate provider.